How to Fix Missing Google Fonts After Changing Your Elementor Website Domain
If you’ve built your website using Elementor on a temporary domain and later connected it to your official domain, you might encounter an issue where Google Fonts are not loading or appearing broken. This is a common problem that usually stems from outdated internal URLs or cached files. Here’s a step-by-step guide to fix it.
Step 1: Update Elementor URLs
When changing domains, Elementor may still be referencing the old domain path for fonts and styles.
- Go to WordPress Dashboard > Elementor > Tools > Replace URL
- Enter your old URL (e.g., https://sitename.hostinger.com)
- Enter your new URL (e.g., https://yourdomain.com)
- Click the Replace URL button
Step 2: Regenerate Elementor CSS Files
Elementor stores styles in cached CSS files, which need to be regenerated after a domain change.
- Go to Elementor > Tools > General
- Click Regenerate CSS
- Click Sync Library if necessary
Step 3: Clear Browser and Plugin Cache
Even after updating URLs, cached files from your browser or caching plugins might still cause issues.
- Clear your browser cache (Chrome, Safari, Firefox, etc.)
- Clear cache from plugins like LiteSpeed Cache, WP Rocket, or Autoptimize
Step 4: Check Font Load Status in Developer Tools
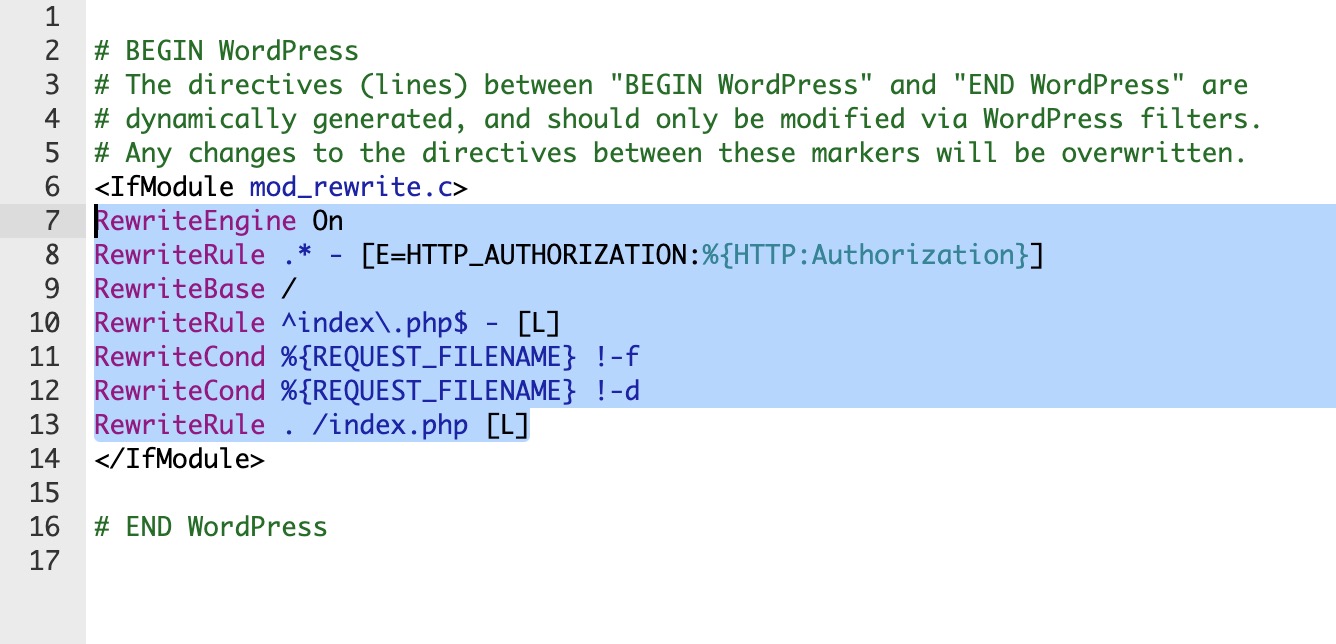
Use Chrome DevTools (F12) to inspect if Google Fonts are loading properly in the <head> section.
- Look for a tag like
<link href="https://fonts.googleapis.com/..."> - Check the Console tab for any CORS or Mixed Content errors
Step 5: Ensure SSL and Mixed Content Are Correct
If your new domain lacks a proper SSL certificate or is loading resources over HTTP, Google Fonts may be blocked.
- Ensure your domain has a valid SSL certificate installed
- Use the Really Simple SSL plugin to force HTTPS for all content
Final Thoughts
By following these 5 steps, you can resolve most font loading issues after migrating your Elementor site to a new domain. The most critical action is using Elementor’s Replace URL tool to correct outdated paths in your styles and settings.


 Scroll to find