Category Archives: plugins

stop sign

How to Add Deny Access to the .htaccess File

The .htaccess file is an important configuration file for websites that use the Apache web server. It allows you to control various aspects of your website, such as redirections, password protection, and caching. However, because the .htaccess file is so powerful, it is also a target for hackers and other malicious actors who may try to exploit it to gain access to your website or server.

One way to protect your .htaccess file is to add a “deny from all” rule to it. This will prevent anyone from accessing the file directly, including hackers who may be trying to modify it.

Here’s how to add a deny access rule to your .htaccess file:

1. Access your website’s .htaccess file

First, you’ll need to access your website’s .htaccess file. You can do this by connecting to your website’s server via FTP or SSH, and navigating to the directory where your website’s files are stored. The .htaccess file should be located in the root directory of your website.

2. Add the deny access rule

Next, open the .htaccess file in a text editor and add the following line at the top of the file:

#deny access to .htaccess
<Files .htaccess>
Order allow,deny
Deny from all
</Files>

This rule specifies that access to the .htaccess file should be denied for all users.

3. Save the changes

Save the changes to your .htaccess file and upload it back to your website’s server.

By adding a deny access rule to your .htaccess file, you can help protect your website from malicious attacks and unauthorized access. However, it’s important to remember that this is just one of many security measures that you should take to protect your website. Be sure to keep your software and plugins up-to-date, use strong passwords, and implement other security best practices to keep your website secure.

Renew SSL icon

Renewing an Expired SSL Certificate with AutoSSL in cPanel: A Quick Guide

An SSL (Secure Sockets Layer) certificate is a digital certificate that encrypts data and ensures secure communication between a web server and a client browser. It’s essential to renew your SSL certificate before it expires to maintain a secure connection on your website. If your website is hosted on a cPanel server, you can renew your SSL certificate using the AutoSSL feature in just a few simple steps. In this blog post, we will guide you through the process of renewing an expired SSL certificate with AutoSSL in cPanel.

Step 1: Log in to your cPanel account

The first step is to log in to your cPanel account. You can do this by accessing the cPanel login URL provided by your web hosting company and entering your cPanel username and password.

Step 2: Go to SSL/TLS Status page

Once you’re logged in, go to the SSL/TLS Status page. You can find it by using the search bar or by scrolling down to the Security section of the cPanel dashboard.

Step 3: Renew the SSL certificate

On the SSL/TLS Status page, you will see a list of all the SSL certificates installed on your server, including any that have expired. Check on all expired domain names and click the “Run AutoSSL” button. Wait for a few minutes until the “Success” sign appears. If it doesn’t work, you can try uninstalling the SSL certificate by clicking on SSL/TLS Status – “View Certificate” or SSL/TLS – “Manage SSL sites.” Then click “Uninstall.” Go back to the SSL/TLS Status page and reinstall the SSL certificate with “Run AutoSSL” again.

Optional for WordPress users: Add “Really Simple SSL” plugin and activate HTTPS for your domain.

If you’re using WordPress, you can add the “Really Simple SSL” plugin and activate HTTPS for your domain. The plugin will automatically detect your SSL certificate and configure your website to use HTTPS. This will ensure that all pages on your website are secure and encrypted. To add the plugin, go to the WordPress plugin directory and search for “Really Simple SSL.” Install and activate the plugin, and then follow the prompts to activate HTTPS for your domain.

And that’s it! By following these simple steps, you can renew an expired SSL certificate and maintain a secure connection on your website.

How to Add a Sitemap of a WordPress Website

Adding a sitemap for search engines is vital when launching a website unless you want to keep it secret. There are many ways to add a website’s sitemap, but using Yoast SEO plugin could be the easiest way to do it.

1. DOWNLOAD YOAST SEO PLUGIN

  1. Go to Plugins -> Add New and search for the Yoast SEO plugin.
  2. Download and activate it.

2. ENABLE XML SITEMAPS AND GET THE SITEMAP URL

  1. Go to Yoast SEO from the left menu -> General
  2. Enable “On” mode on the XML sitemaps.XML sitemaps
  3. Click on See the XML.
  4. Copy the sitemap url. sitemap url

3. SUBMIT A SITEMAP ON GOOGLE SEARCH CONSOLE

  1. Add a new property (if you haven’t already) for the website you wish to submit the sitemap to on Google Search Console.
  2. Go to Sitemaps from the left menu.
  3. Add a new sitemap by pasting the sitemap URL from step 2 and click on Submit.
  4. *The Status might show Couldn't fetch, but it will update. Couldn't fetch
YARPP Sidebar

YARPP for WordPress: How to remove the “You May Also Like” header on the sidebar widget area

YARPP (Yet Another Related Posts Plugin) is one of the greatest plugins in WordPress that provides related posts automatically using an algorithm, but there are a few things that can’t be easily fixed through its settings.

How to remove the “You May Also Like” header on the sidebar widget YARPP Plugin for WordPress?

I’ve tried many options in the settings, but they didn’t seem to work. Try using the CSS code below to remove it easily.

CSS

Copy the code below and paste it into your CSS document.

.yarpp-related-widget h3 { display:none; }

Tada!

YARPP posts

How to remove the “Related Posts” on YARPP Plugin for WordPress

YARPP(Yet Another Related Posts Plugin) is a one of the greatest plugins in WordPress that provides related posts automatically with algorithm, but there are a few things can’t be easily fixable on its setting.

How to remove the “Related Posts” on YARPP?

I’ve tried many options on their settings to remove the Related Posts on the bottom of a page, but it seems not working. Try below CSS line to remove it with ease.

CSS

Copy the code below and paste into your CSS document.

.yarpp-related-website { display:none; }

Tada!

How to Duplicate/Migrate WordPress Website – Duplicator

Work effective and save time if you are a web developer using WordPress. Duplicate your existing work and use as a template. Get Duplicator and install/active the plugin and follow the instruction below. We have 3 main steps to get all duplicate/migration process done.

1. BACKUP FILES & DOWNLOAD

  1. Get Duplicator plugin
  2. Duplicator -> Create new
  3. Next -> Build
  4. Download Installer.php and ...Archive.zip file

2. DATABASE CREATION ON NEW SERVER

  1. Create Database from MySQL® Databases in cPanel.
  2. Name your database. Add _wp at the end of the database name
  3. Add a user, _user at the end of the database name
  4. Add the user to the database you created. Finally add All Privileges to the user.

3. UPLOAD BACKED UP FILES TO NEW SERVER

  1. Access cPanel on new hosting server. Go to cPanel -> File Manager. Select public_html or very root folder of your WordPress files -> upload your saved Installer and Archive files. (*You can also use FTP (Filezilla) to upload these files. )
  2. Open a web browser -> http://YOUR-DOMAIN.com/installer.php
  3. Select the checkbox, “I have read and accept all terms & notices*”
  4. Select Remove all data and input your Database, User and Password and hit Test Database. If looks good, hit Next.
  5. Click Next for step 4, Login the site with Site Login.
300x200 Contact 7

WordPress Contact Form 7 Submit Button Not Working (Nonstop Wheel Spinning)

Despite the popularity of its name, “Contact form 7” with millions of active installations, numerous plugin users have called out the error when hitting the submit button on the form. The error seems to be occurred by change of environment such as migration of the website. Here’s the solution how this can be resolved.

  • Go to the WP Admin (Backend) -> Plugins -> Plugin File Editor.
  • Select plugin to edit dropdown to select Contact Form 7 and select the file, wp-contact-form-7.php
  • On line 30 (the number can be different) after ‘WPCF7_LOAD_JS’, change true to false

Change of code in “Contact form 7” plugin

if ( ! defined( 'WPCF7_LOAD_JS' ) ) {
	define( 'WPCF7_LOAD_JS', false );
}

WooCommerce Hollow “Empty” Star Rating to “Full” Filled Stars

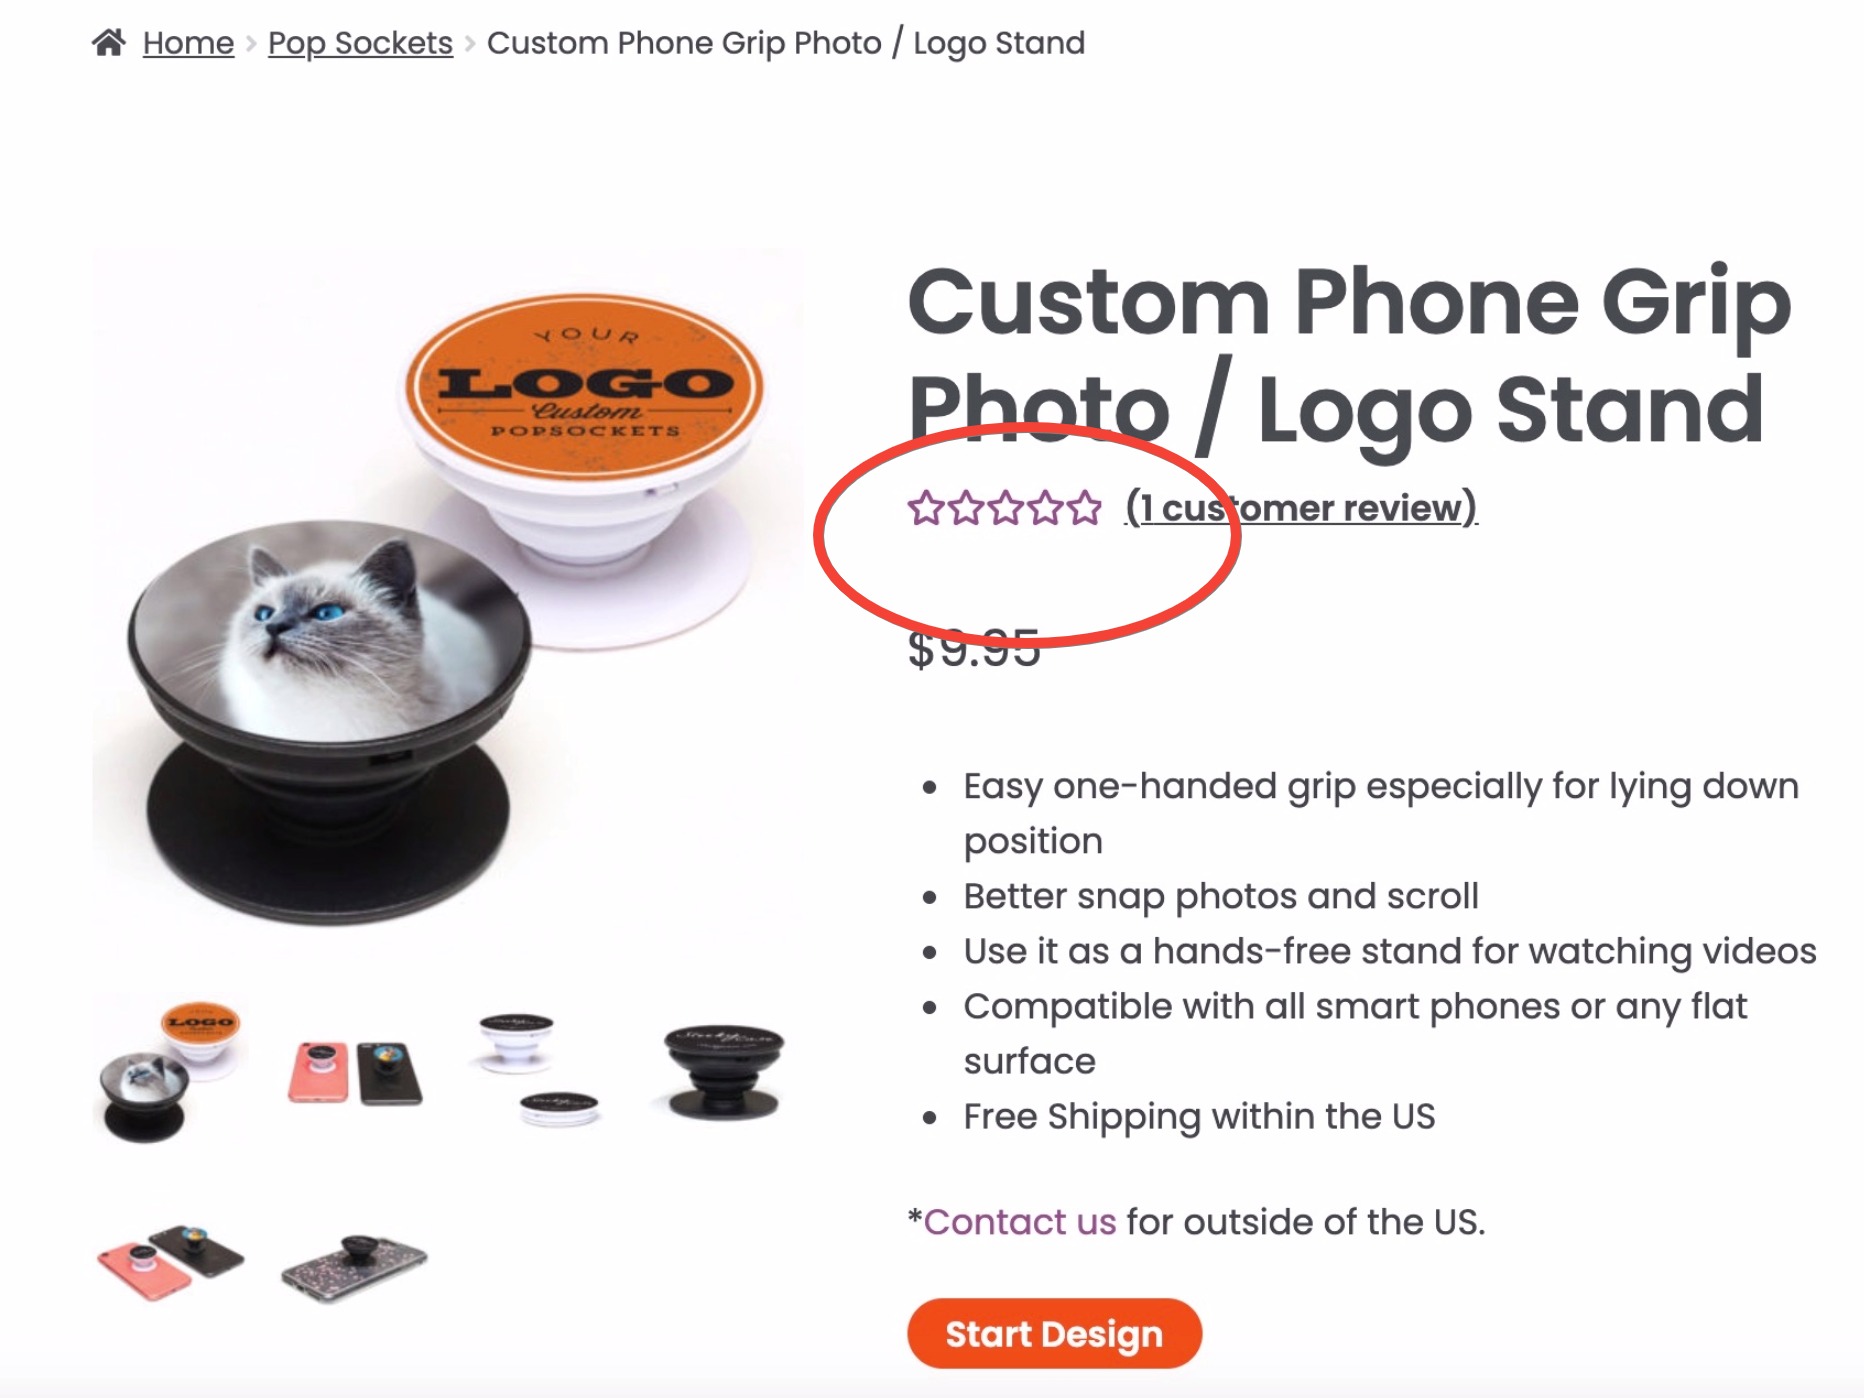
5 hollow stars looked my customers rated 0 star on my item not 5 stars. (But it’s 5 star rated though!) For users who sees hollow stars in WooCommerce, there must be mis-specifying font-family in your CSS.

SC-hollow-stars

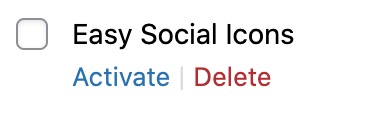
Check if you have installed the “Easy Social Icons” plugin that is activated with WooCommerce.

Easy Social Icons

Simply deactivate the plugin as it is conflicting the “Font Awesome 5 Free” font-family with WooCommerce. Once the Easy Social Icons plugin deactivated, you will see the full, filled star ratings on your item.

filled star rating