Category Archives: Pixels

Kebab Display Menu Template

Freebies: Kebab Kabob Display Menu Template (PSD)

Kebab Display Menu Template

The “Kebab” or “Kabob” Mediterranean food display menu template in Photoshop (PSD) by Identity Design is designed in high resolution and ready to use. It’s layered in PSD and available for a free download.

Terms
  • All Identity Design Freebies can be used for both personal and commercial use.
  • You may not redistribute or resell Identity Design Freebies in any shape or form.
Car Cover Website Template

Freebies: Car Cover Website Mock Up Template (PSD)

Car Cover Website Template

The Car Cover Website Design mockup in Photoshop (PSD) by Identity Design is designed in high quality 2400 pixel in width. This clean & sophisticated design is ready to use on your own design before it’s cut up in HTML. It’s layered in PSD and available for a free download.

Terms
  • All Identity Design Freebies can be used for both personal and commercial use.
  • You may not redistribute or resell Identity Design Freebies in any shape or form.

How to Change the Order of Artboards on Adobe Illustrator

Adobe Illustrator can create multiple paged PDF using multiple artboards. If you need to rearrange the order of pages, here is how-to.

Artboards are like Canvas in Adobe Photoshop.

Artboards

The two-digit number starting on the left of each artboard is the order of the content in PDF. To change the order of artboards, open up the Artboard Palette and drag layers as you want.

1 Open -> Window (on top menu bar) -> choose Artboards

how to open Artboard

2 Change the Order of Artboards by Dragging the Layers

Artboard Palette

Just need to save your document in PDF.

Chicken turn animation

Make Your Photos into a GIF Animation (Stop Motion) Using Photoshop

I took a bunch of snap shots with my Canon EOS 5D, a DSLR Camera. I thought this could be all put together and exported to a short GIF animation clip for my client’s Instagram.

1 Load Photo in Photoshop

Go to File on the top left menu on Photoshop and select Scripts -> Load Files into Stack

scriptsLoad files into stack

Click Browse and select your photos, hit Okay (You might need to sort your files in name so they can be played in order).

load layers

2 Make Timeline Frames

Open the Timeline palette from the Window menu.

Select the first layer on the Layers palette, click on the Create Frame Animation button (You might have to use the Dropdown button to do this).
Create Frame Animation

Go to the properties of the Timeline palette (3 lines icons at the top right), select the rest of the layers and select Make Frames from Layers.

Make Frames from Layers

You will see all layers have been converted into frames in timeline.

Double check the duration of the animation and leave it to Forever if you want the animation to be repeated and loop forever.
Forever menu

3 Export the file into GIF

Export to GIF

Go to File -> Save for web (or Commend + Option + Shift + S) and select the image format into “GIF” and hit Save.

Now your wonderful GIF animation has been created. Enjoy sharing!

Weight Loss Industry Website Thumb

Freebies: Weight Loss Diet / Health Website Design Mock Up (PSD)

Weight Loss / Health industry website design mock up (HTML/CSS) by Identity Design was designed in Photoshop File. This PSD is available for a free download and fully customizable for your own website or WordPress template.

Weight Loss Industry Website Mock Up

Terms
  • All iiiji.com freebies can be used for both personal and commercial use.
  • You may not redistribute or resell iiiji.com freebies in any shape or form.

Freebies: New Year New You Infographic Template (PSD)

New Year New You Infographic Template by Identity Design was designed in standard resolution 600 x 800 pixel banner for the weight loss company, SENSA®. You can edit with your own new year resolution messaging for your banner, and it’s ready to use in Photoshop. This PSD template is available for a free download.

BNC_Infographic

Terms
  • All iiiji.com freebies can be used for both personal and commercial use.
  • You may not redistribute or resell iiiji.com freebies in any shape or form.
Snowing Thumb

Freebies: Merry Christmas Gif Animation Template (PSD)

Merry Christmas Gif Animation Banner Template by Identity Design is designed in standard resolution 1200 x 435 pixel with 14 slides of timeline. You can add your message to this fantastic bling banner, ready to use in Photoshop. You can view the timeline panel by going to Photoshop -> Window -> Timeline (Panel). This PSD template is available for a free download.

Snowing Animation PSD

Terms
  • All iiiji.com freebies can be used for both personal and commercial use.
  • You may not redistribute or resell iiiji.com freebies in any shape or form.
Foodie Website thumb

Freebies: Foodie Website Mock Up Template (PSD)

FOODIE Website Design Mock Up by Identity Design is designed in standard resolution 1200 x 750 pixel. This clean & sophisticated design is ready to use on your own design before it’s cut up in HTML. It’s layered in PSD and available for a free download.

Foodie Website Mockup

Terms
  • All iiiji.com freebies can be used for both personal and commercial use.
  • You may not redistribute or resell iiiji.com freebies in any shape or form.
grunge

Freebies: The Gloria Revival Grunge Poster Template

The Gloria Revival poster by Identity Design is designed in high resolution 3600 x 4800 pixel (18 x 24 inch). This artistic poster is rendered nicely with grunge texture in the foreground and background. It’s layered in PSD and available for a free download.

grunge_poster

Terms
  • All iiiji.com freebies can be used for both personal and commercial use.
  • You may not redistribute or resell iiiji.com freebies in any shape or form.

Freebies: The Way to Emmaus High-Res Poster Template

The Way to Emmaus poster by Identity Design is designed in high resolution 3600 x 4800 pixel (18 x 24 inch). With the sun flare that hits the lens, the art is showing a mysterious way or the way of light. It’s available for a download which layered in PSD so you can easily edit and replace texts with your own words. This would be a great resource for any Christian services relating to the message or any other short movie posters.

The Way to Emmaus

Terms
  • All iiiji.com freebies can be used for both personal and commercial use.
  • You may not redistribute or resell iiiji.com freebies in any shape or form.

Freebies: Paint Splatter High-Res Art Poster Template

Paint / ink splatter poster by Identity Design is designed in high resolution 3600 x 4800 pixel (18 x 24 inch). The artwork is layered in PSD so you can easily edit and replace texts, and you can hide and show other splatter marks as well as change color with hue adjustment. Start your splatter design with this template!

Splatter_Poster01

Free high resolution poster template for your design

other samples

You can easily change color.

Terms
  • All iiiji.com freebies can be used for both personal and commercial use.
  • You may not redistribute or resell iiiji.com freebies in any shape or form.
Responsive

Responsive Google Adsense is Easy!

We are facing a big transition in web design. In recent days, majority of well developed websites are made in responsive websites. Responsive design is the development responding to the environment based on screen size of a device. That being said the content elements must evolve to meet the technology as millions of bloggers are using Google Adsense technology to monetize their content.

Below is the HOW-TO guide to tweak the current Google Adsense code with the new responsive Google Adsense banners on your site. You don’t need to have a deep understanding of it’s frame work. Here’s an easy way to make it happen.

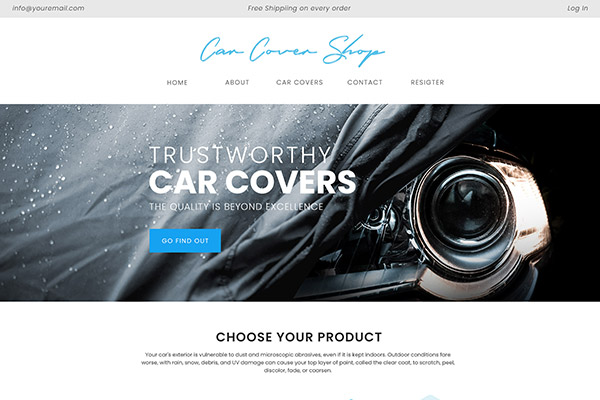
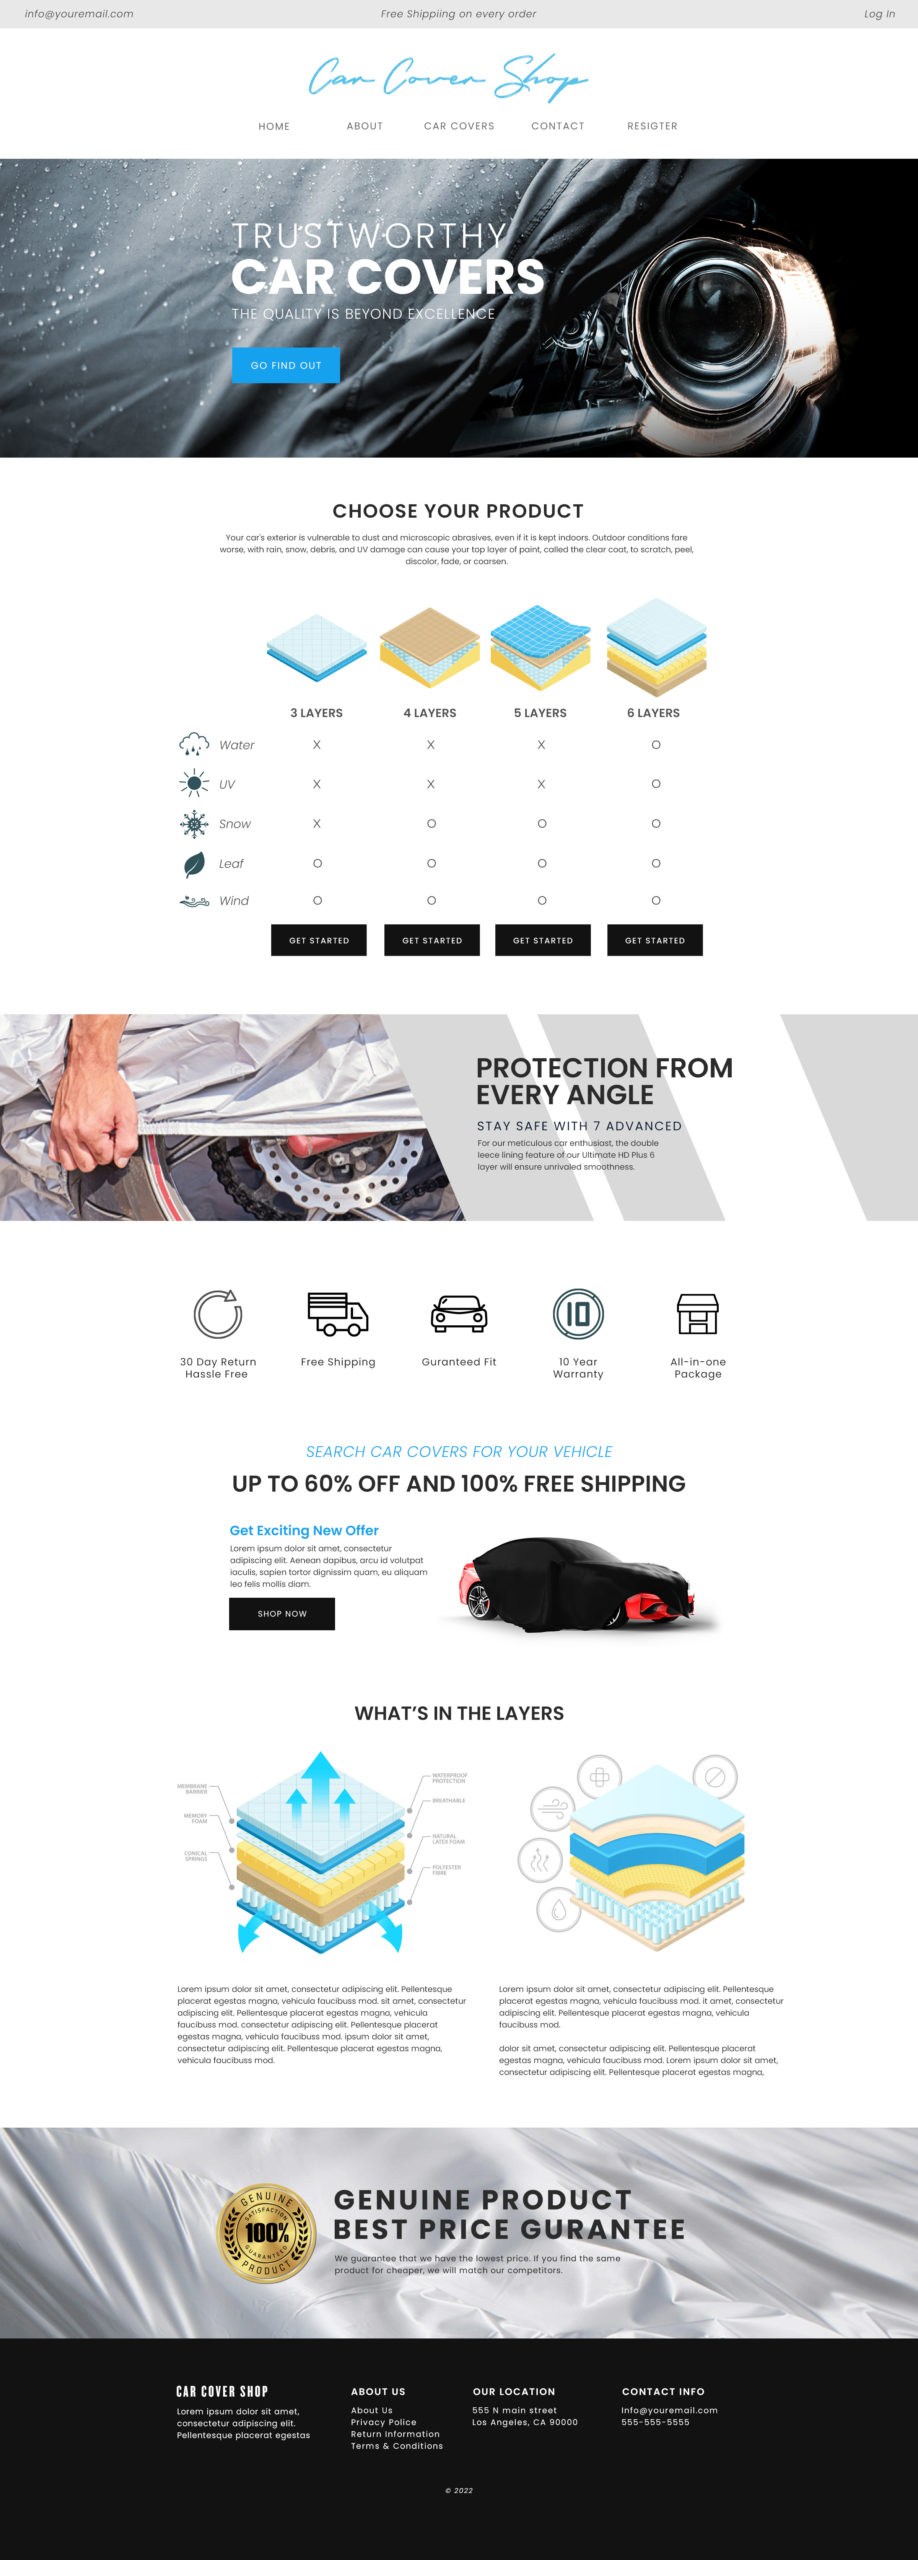
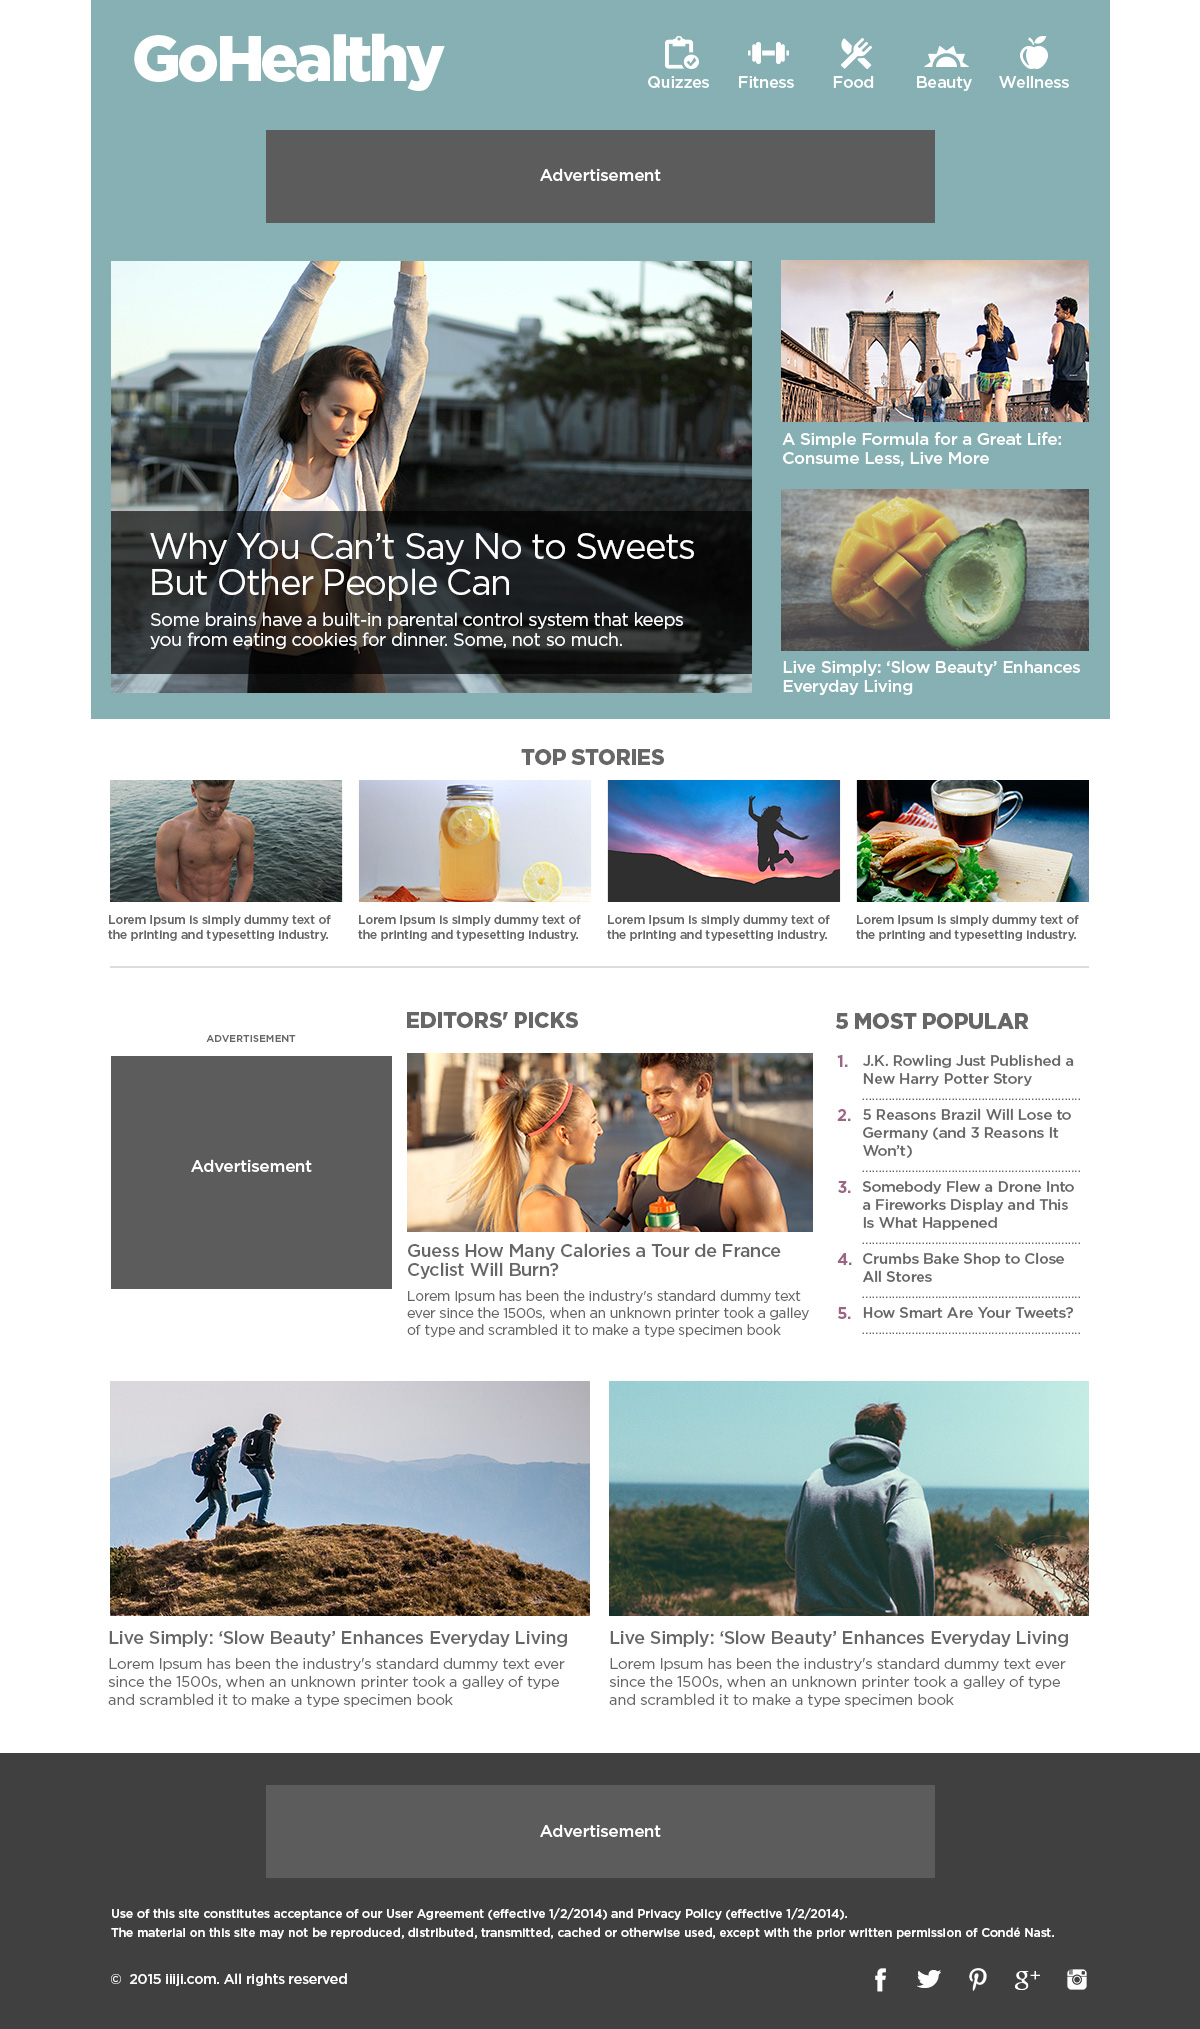
Our DEMO is here. Just look at the header section of this site. Do you see a wide horizontal banner (728 px x 90 px)? Try resize the browser to make it smaller and reload the page. Try even smaller like you are using a mobile and reload the page. Do you see the size of the ad is changing as it’s responding?

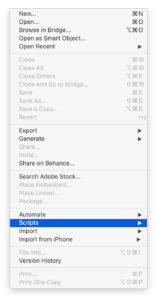
Let’s first take a look at your current Google Adsense Code below. You can get this code from Google Adsense Site → My ads (top menu) → “Get Code” from one of your ad unit.

Make sure you select “asynchronous” code type from the drop down menu.

<script async src="//pagead2.googlesyndication.com/pagead/js/adsbygoogle.js"></script>
<!-- NAME OF YOUR AD -->
<ins class="adsbygoogle"
     style="display:inline-block;width:728px;height:90px"
     data-ad-client="ca-pub-8255226778912403"
     data-ad-slot="1054112722"></ins>
<script>
(adsbygoogle = window.adsbygoogle || []).push({});
</script>

1. You simply add a <div> around it.
2. Named the class to responsive-ad on the <div>
3. Added the class responsive-ad to <ins>. So it’s now adsbygoogle responsive-ad.
4. Changed the style to display:block
5. You must replace data-ad-client numbers and data-ad-slot numbers with yours..
6. Added data-format="auto" before closing </ins> tag.
7. Add <style> tags. You can tweak it whatever you want.

<div class="responsive-ad">	
<script async src="//pagead2.googlesyndication.com/pagead/js/adsbygoogle.js"></script>
<!-- NAME OF YOUR AD -->
<ins class="adsbygoogle responsive-ad"
     style="display:block"
     data-ad-client="ca-pub-XXXXXXXXXXXXXXXX"
     data-ad-slot="XXXXXXXXXX"
     data-format="auto"></ins>
<script>
(adsbygoogle = window.adsbygoogle || []).push({});
</script>
</div>

<style type="text/css">
.responsive-ad { width: 320px; height: 50px; margin: 0 auto; }
@media (min-width:480px) { .responsive-ad { width: 468px; height: 60px; } }
@media (min-width:768px) { .responsive-ad { width: 728px; height: 90px; } }
</style>

The <style> above has set a minimum of 768px (and up) for desktops, a minimum of 480px (and up but below 768px) for tablet, and 320px (and up but below 480px) for mobile. You may feel free to change the numbers of min-width: as your site structure.

Enjoy your blogging and monetizing with the new Responsive Google Adsense!

Texture

TextureLovers.com

A site that contains hundreds of awesome textures in high resolution JPG with the variety of concrete, fabric, foliage, liquid, metal, paint, paper, rust, stone, rock, wood, clouds, sky, and etc.

TextureLover

PSD Hatched Slash Diagonal Pattern

Download PSD: Photoshop Hatched Slash Diagonal Pattern

Hatched/slash pattern makes slick feel to your art work. Here’s an easy way of doing it in Photoshop.

  1. Create a “New” canvas (go to “File” -> “New”). Set 6 pixels on both “Width” and “Height”.
  2. Open “Layer” palette (go to “Window” -> “Layer”). Delete existing background layer so it’s now “Transparency”.
  3. Blow the view all the way up to 3200% by select Magnifying Glass Icon from the “Tools”. Draw a line diagonally with “Pencil” tool (Like below).

Dotted Line

Feel free to customize yourself with making different colors, directions, and even different sizes like 3 x 3 pixel or 2 x 2 pixel. You can also download PSD here:

Download PSD

Application

  1. Lets continue with what we have, or simply open the PSD above.
  2. Go to “Edit” -> “Define Pattern” to and name your pattern as you like. Now, we are done with defining the pattern. Let’s apply the pattern to the image.
  3. Place a background less image by “File” -> “Place” and select your image. I’ve placed a chocolate donut png image.

Background Less Donut Image

  1. Create a new layer (green arrow on right), fill a color as you like (I chose WHITE), and drag to place the layer below the “donut” layer.

Layer Style

  1. Let’s add a layer style to the background layer (Mine is “white bg”) by click on the “fx” button (the yellow arrow) shown above. Then, on the “Layer Style” window, click “Pattern” button (the red arrow) and choose your Hatched / Slash / Diagonal Pattern you made.

FINAL WORK:

Final Hatched Donut Image