Hatched/slash pattern makes slick feel to your art work. Here’s an easy way of doing it in Photoshop.
- Create a “New” canvas (go to “File” -> “New”). Set 6 pixels on both “Width” and “Height”.
- Open “Layer” palette (go to “Window” -> “Layer”). Delete existing background layer so it’s now “Transparency”.
- Blow the view all the way up to 3200% by select Magnifying Glass Icon from the “Tools”. Draw a line diagonally with “Pencil” tool (Like below).
Feel free to customize yourself with making different colors, directions, and even different sizes like 3 x 3 pixel or 2 x 2 pixel. You can also download PSD here:
Application
- Lets continue with what we have, or simply open the PSD above.
- Go to “Edit” -> “Define Pattern” to and name your pattern as you like. Now, we are done with defining the pattern. Let’s apply the pattern to the image.
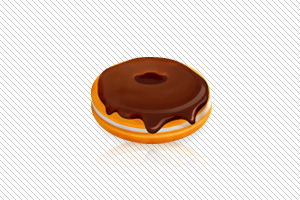
- Place a background less image by “File” -> “Place” and select your image. I’ve placed a chocolate donut png image.
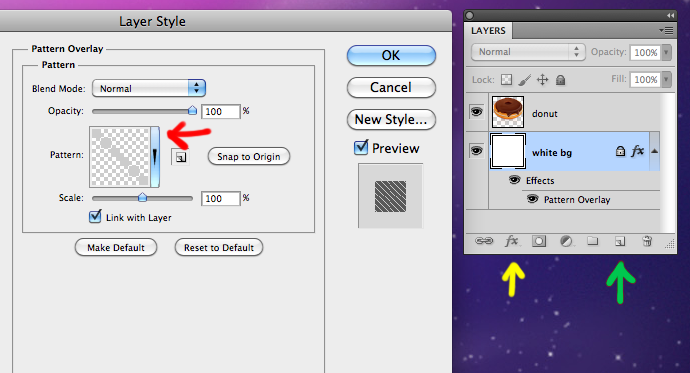
- Create a new layer (green arrow on right), fill a color as you like (I chose WHITE), and drag to place the layer below the “donut” layer.
- Let’s add a layer style to the background layer (Mine is “white bg”) by click on the “fx” button (the yellow arrow) shown above. Then, on the “Layer Style” window, click “Pattern” button (the red arrow) and choose your Hatched / Slash / Diagonal Pattern you made.
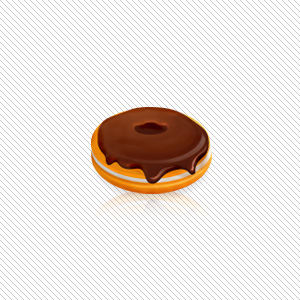
FINAL WORK:


Slightly late, but good info 😉
I really appreciate this post. I¡¦ve been looking everywhere for this! Thank goodness I found it on Bing. You’ve made my day! Thanks again
Yes, I like it.
Thank you for this blog. That’s all I can say. You most definitely have made this blog into something thats eye opening and important. You clearly know so much about the subject, youve covered so many bases. Great stuff from this part of the internet. Again, thank you for this blog.”
Howdy! Do you use Twitter? I’d like to follow you if that would
be okay. I’m definitely enjoying your blog and look forward to new updates.